
Start With the Final Garment List
Before you ask anyone for a size, confirm exactly what is being ordered. A t-shirt fit is not the same as a golf shirt, hoodie or sports vest, and people often choose the wrong size when the garment type is still unclear. Decide on the style, fabric, colour, print positions and whether the order will be worn over another layer. That gives everyone one clear target to work from.
If the order is for a school, business or event group, make sure the decision maker agrees on the full list first. For example, a winter staff order may need both short-sleeve and long-sleeve options, or a sports team may need one fit for players and another for coaches. Once the item list is fixed, size collection becomes much easier and you reduce the risk of having to reprint or swap garments later.
- Confirm the garment type for each person or department
- Decide if sizes are for fitted wear or a looser fit
- Check whether jackets, hoodies or base layers will be worn underneath
- Lock in the final quantity before collecting measurements
Choose a Single Measuring Method for Everyone
The most accurate group orders use one measuring method for all wearers. You can use an existing garment, a measurement chart or direct body measurements, but do not mix methods unless you note it clearly. If some people send old shirt sizes and others send chest measurements, the results can be messy. Pick one system and keep it consistent from Bloemfontein to Botshabelo, or anywhere else the order is going.
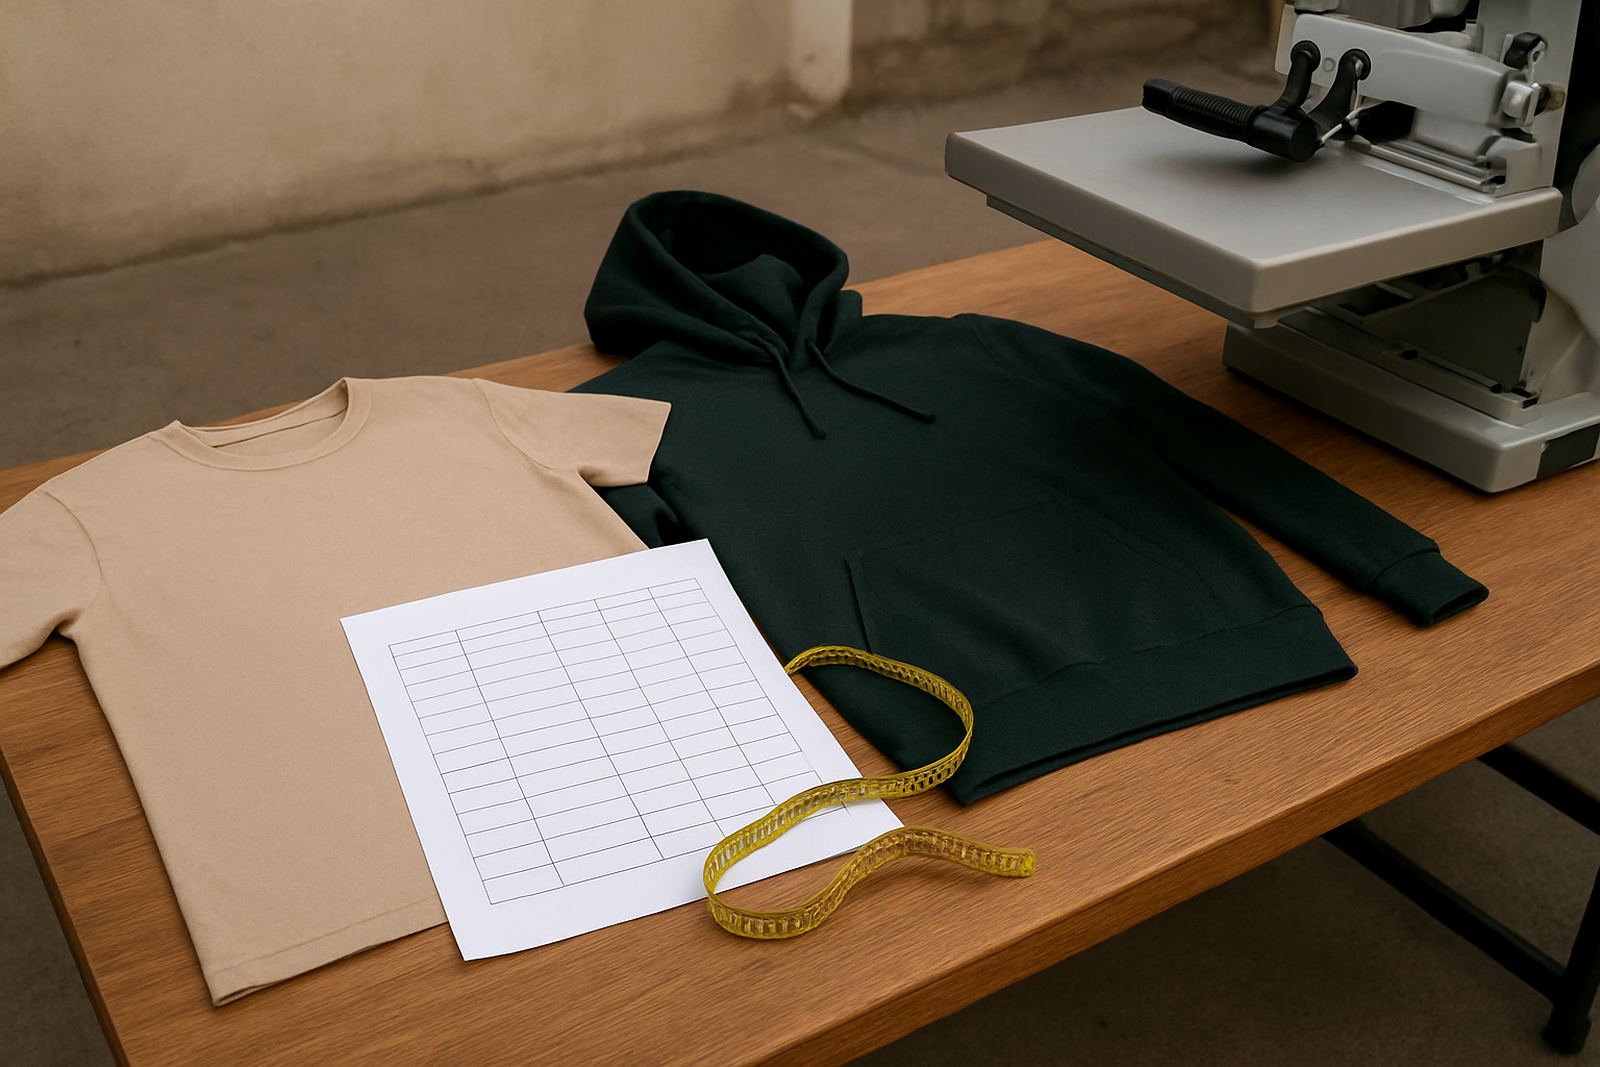
For many group orders, comparing against a well fitting shirt is the simplest option. Ask each person to lay the garment flat and check width, length and sleeve length where needed. If you are measuring body size, use a soft tape and measure around the fullest part of the chest, then note the result in centimetres. Keep the tape level and snug but not tight, otherwise the numbers will be off.
- Use centimetres, not guesswork
- Measure over normal clothing, not heavy jackets
- Record the same points for every person
- Double-check any size that looks unusual
Use a Simple Collection Sheet That People Can Fill In Quickly
A clear list makes size collection much faster, especially for schools, clubs and companies where many people need to respond at once. Use one sheet with a name column, department or class, garment type and size. If people are responding on paper, WhatsApp or through a team manager, keep the format the same so nothing gets missed. A neat list also helps when you need to sort by delivery point later, whether that is Hamilton, Kroonstad or Parys.
It helps to ask for one backup detail as well. For example, if someone selects Medium, ask whether they prefer a regular fit or slightly looser fit. That small bit of info can prevent confusion with brand new uniforms or tighter styles. When you are collecting from children, add the learner's grade or age group so the organiser can cross-check before the order is confirmed.
- Name and surname
- Garment type
- Size requested
- Fit preference
- Any special note, such as maternity, tall fit or youth sizing
Check the Common Problem Sizes Before You Submit
Some sizes cause more mistakes than others. Very small and very large garments can vary more between styles, so those should always be checked twice. If someone is between sizes, note that clearly instead of forcing a choice. A person who wears a large in a loose sports shirt may need an extra-large in a fitted golf shirt, and that is normal.
Also watch for mixed age groups. School orders often include learners, coaches and admin staff in one batch, and each group may need a different sizing approach. In warm places like Thaba Nchu or Welkom, people may choose lighter fitting shirts, while in winter months a hoodie order may need extra room for layers. A quick review before submission saves rework and keeps the whole job on track.
- Small and extra-small sizes
- Extra-large and above
- Youth sizes mixed with adult sizes
- People who are between two sizes
Sort the Order by Size, Not by Name
Once you have the full list, group the order by size before sending it through. This makes packing, counting and dispatch much easier and helps avoid mistakes on larger runs. A size-based list is especially useful for bulk school apparel, event shirts and staff uniforms where dozens or hundreds of garments may be involved. It also speeds up the check against artwork placement and print quantity.
If you are managing the order yourself, keep a master copy and one working copy. Use the working copy for corrections and leave the master sheet untouched. That way, if someone changes their mind, you can update the size without losing the original record. During load-shedding periods, keep a printed backup as well, so the list does not disappear if devices switch off unexpectedly.
- Count how many of each size are needed
- Separate adult, youth and ladies fits if required
- Keep the master list safe
- Mark changes clearly and date them
Final Pre-Order Check Before You Send the Enquiry
Before you submit the enquiry form, do one last review with the organiser or group captain. Check names, sizes, quantities and delivery details. If the order is going to multiple locations, note that upfront so the packing can be planned properly. Couriered work to the Free State and nationwide is much smoother when the size list is complete from the start.
A final check should also include artwork approval, especially if names, numbers or department labels are being printed. For event and sports orders, a late size change can affect print placement and turnaround times. Keep the list tidy, keep the notes short, and ask for confirmation from the person responsible for the group. A clear list means fewer delays and less waste, which matters when you are working to a fixed date.
- Verify totals against the original quote request
- Confirm the delivery area and contact person
- Check spelling on names and departments
- Submit the size list with any special instructions