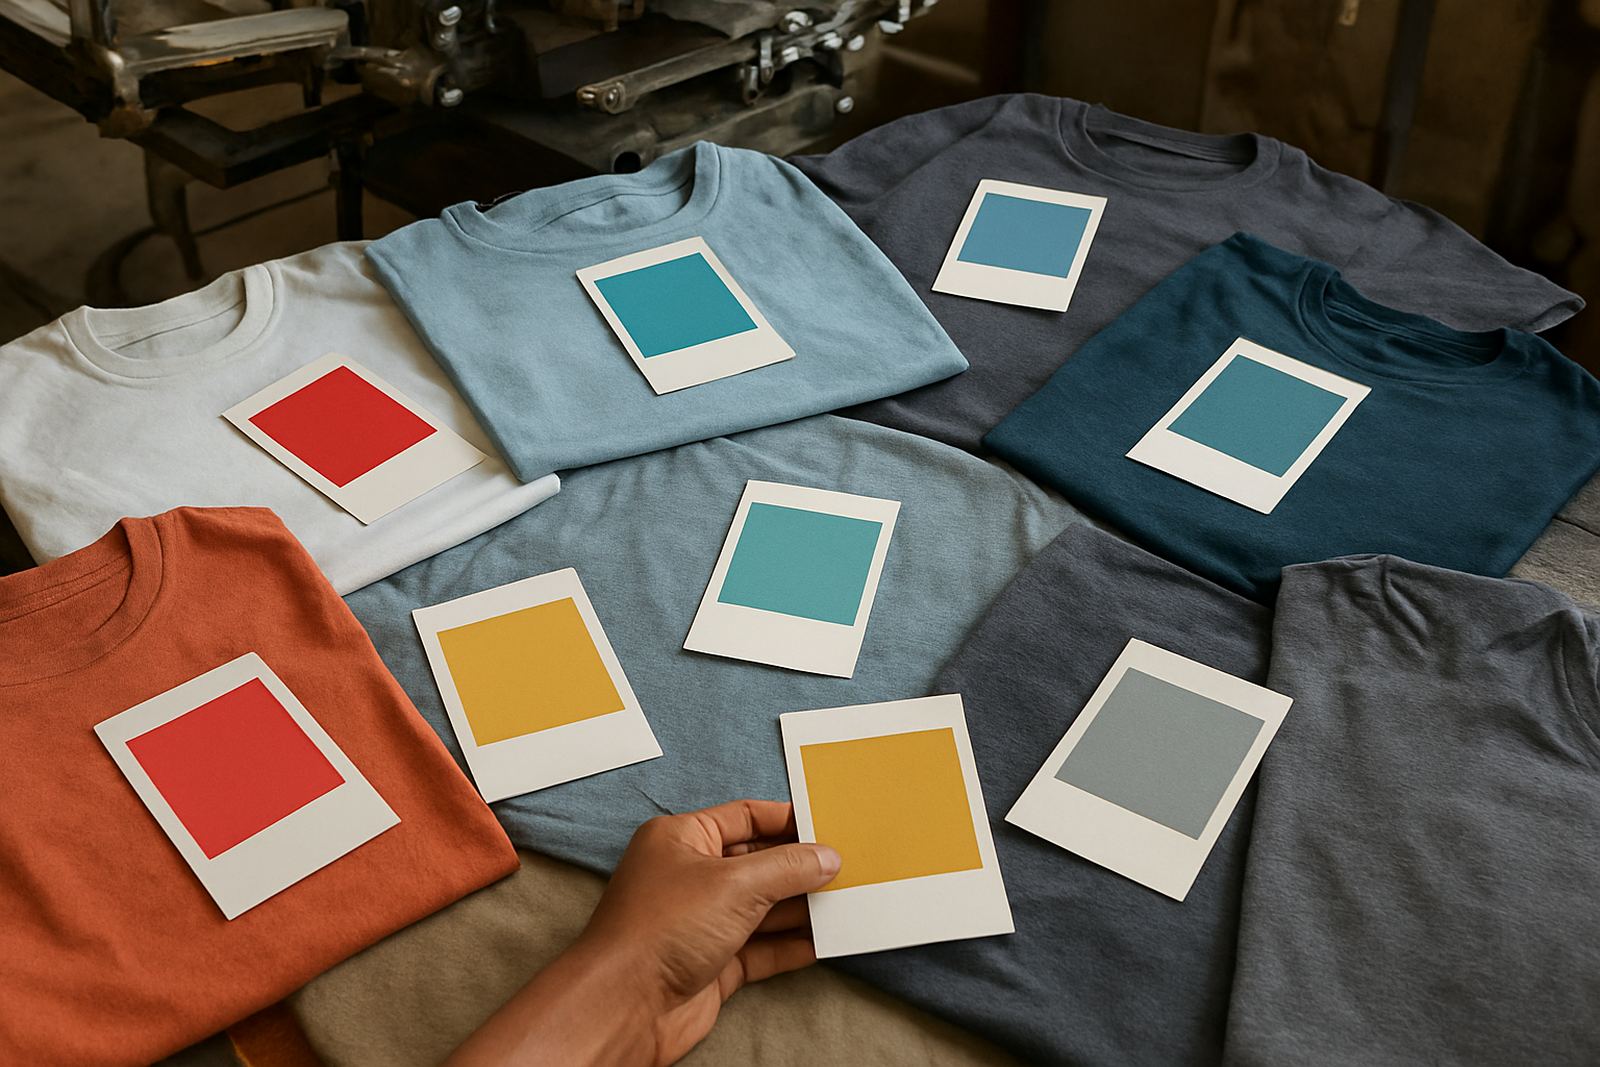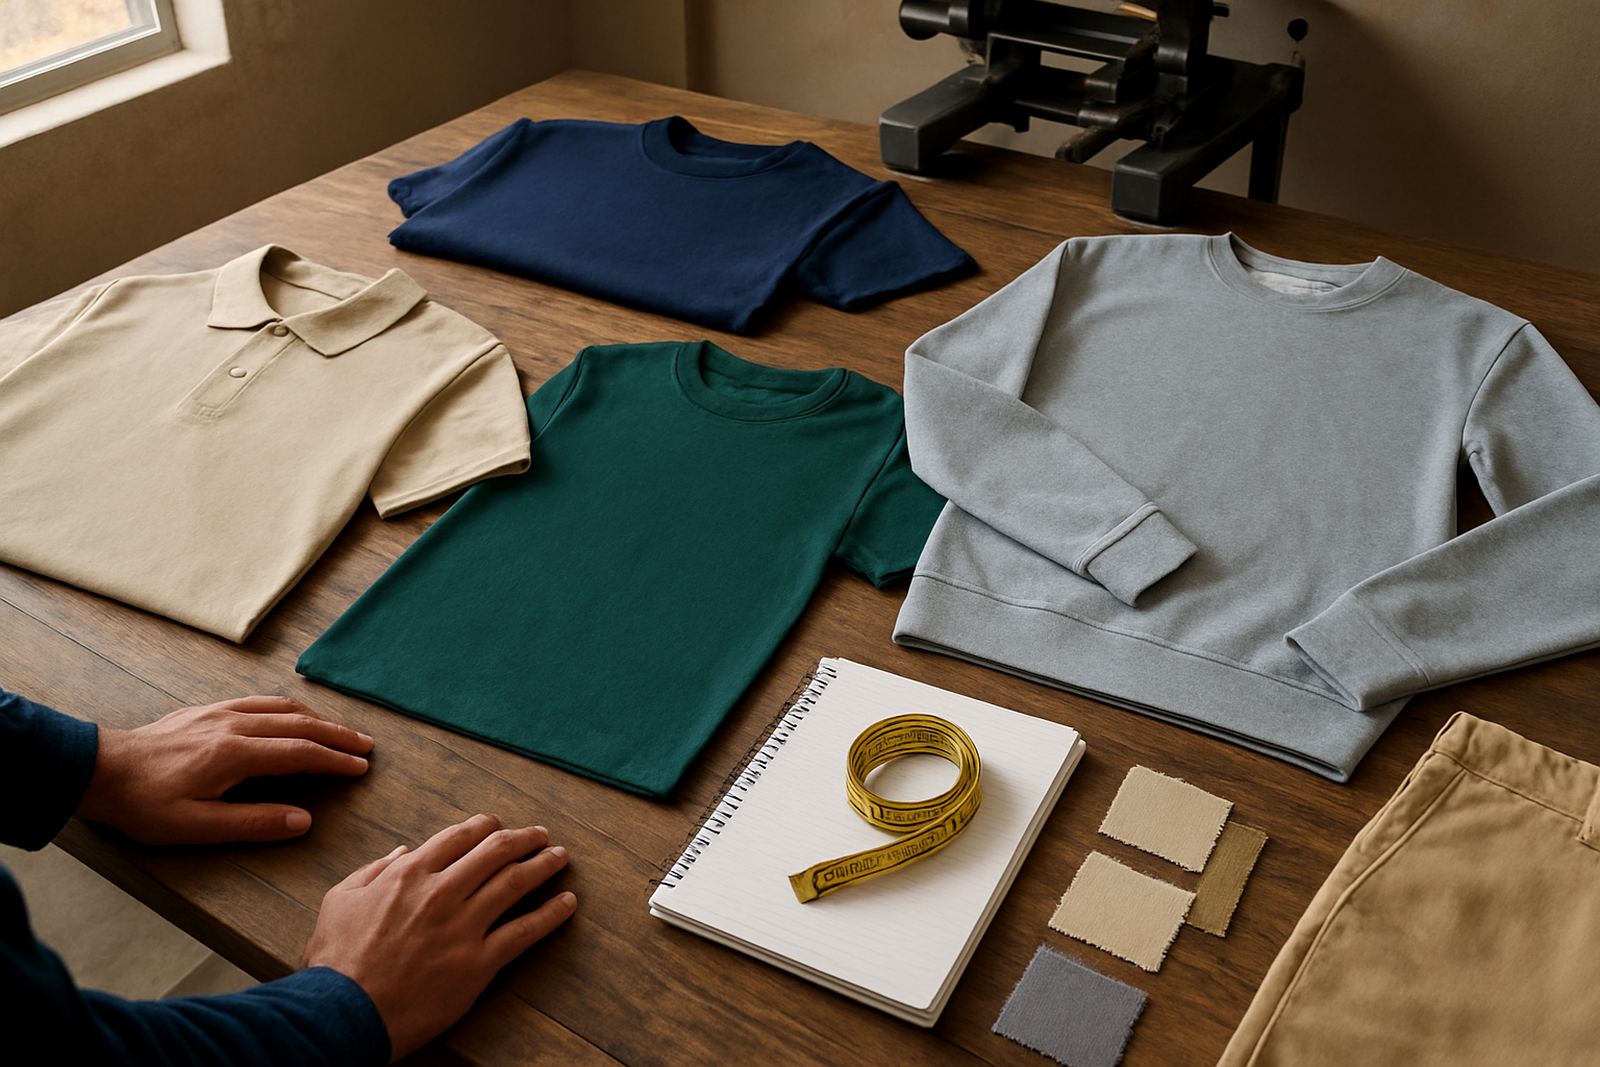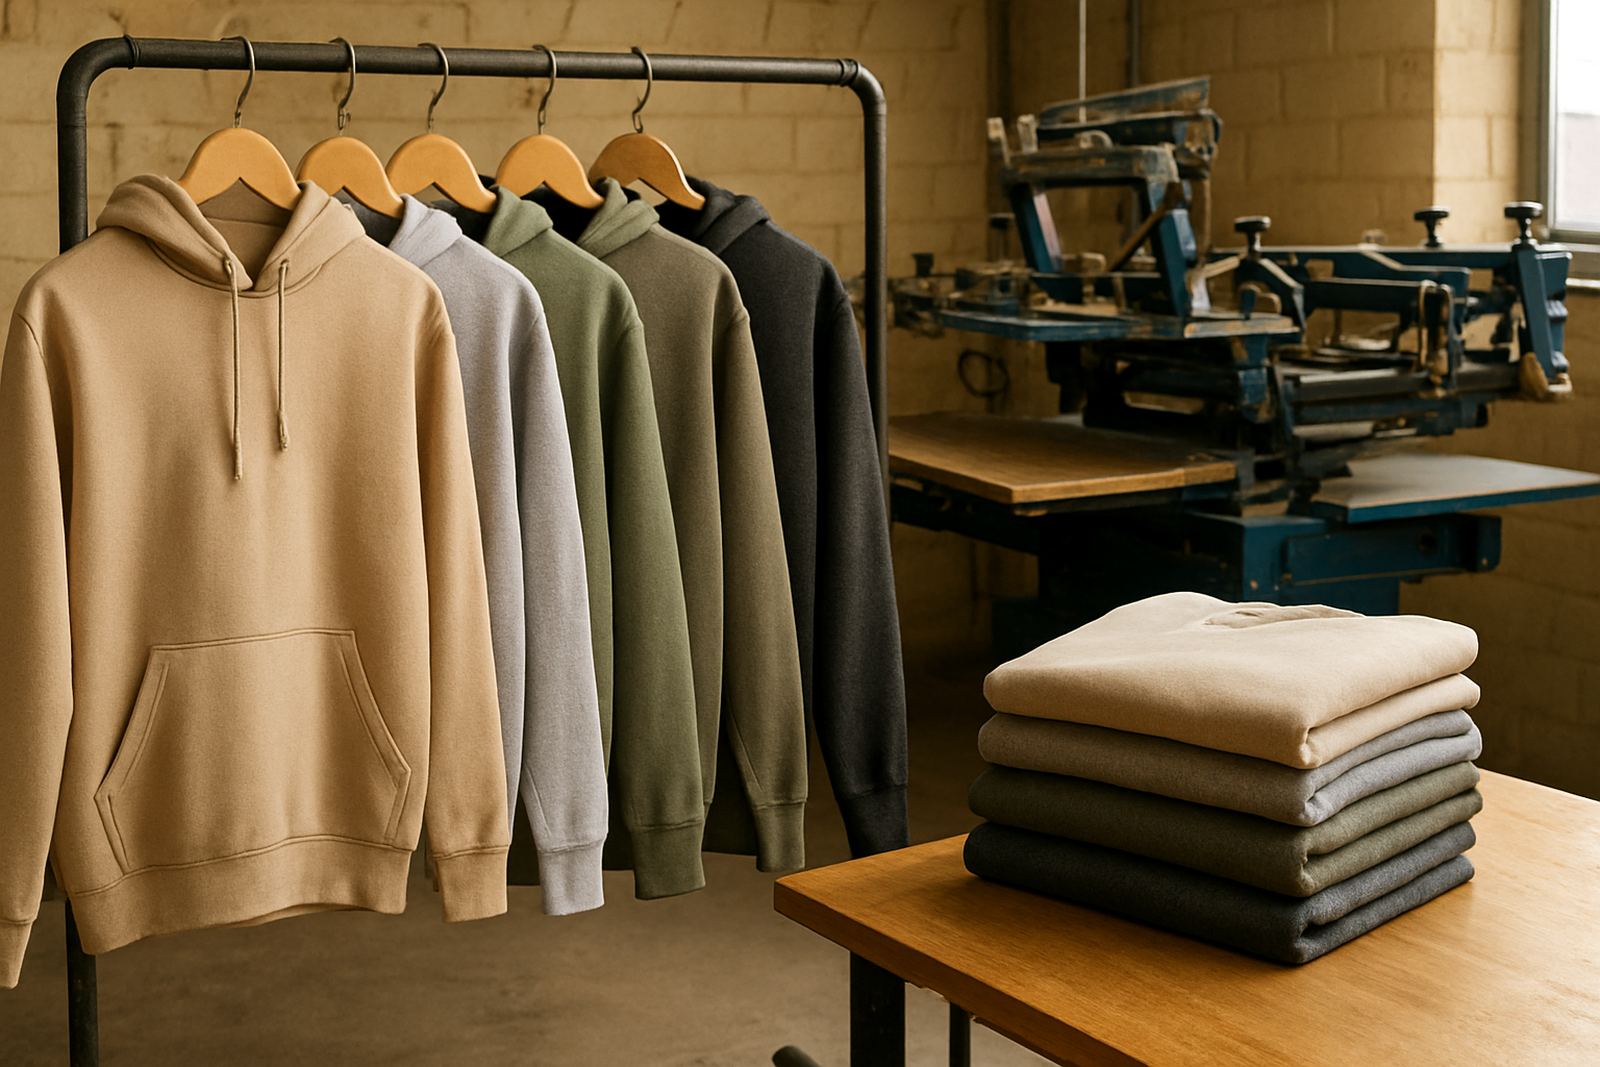
Start With the Garment and the Use Case
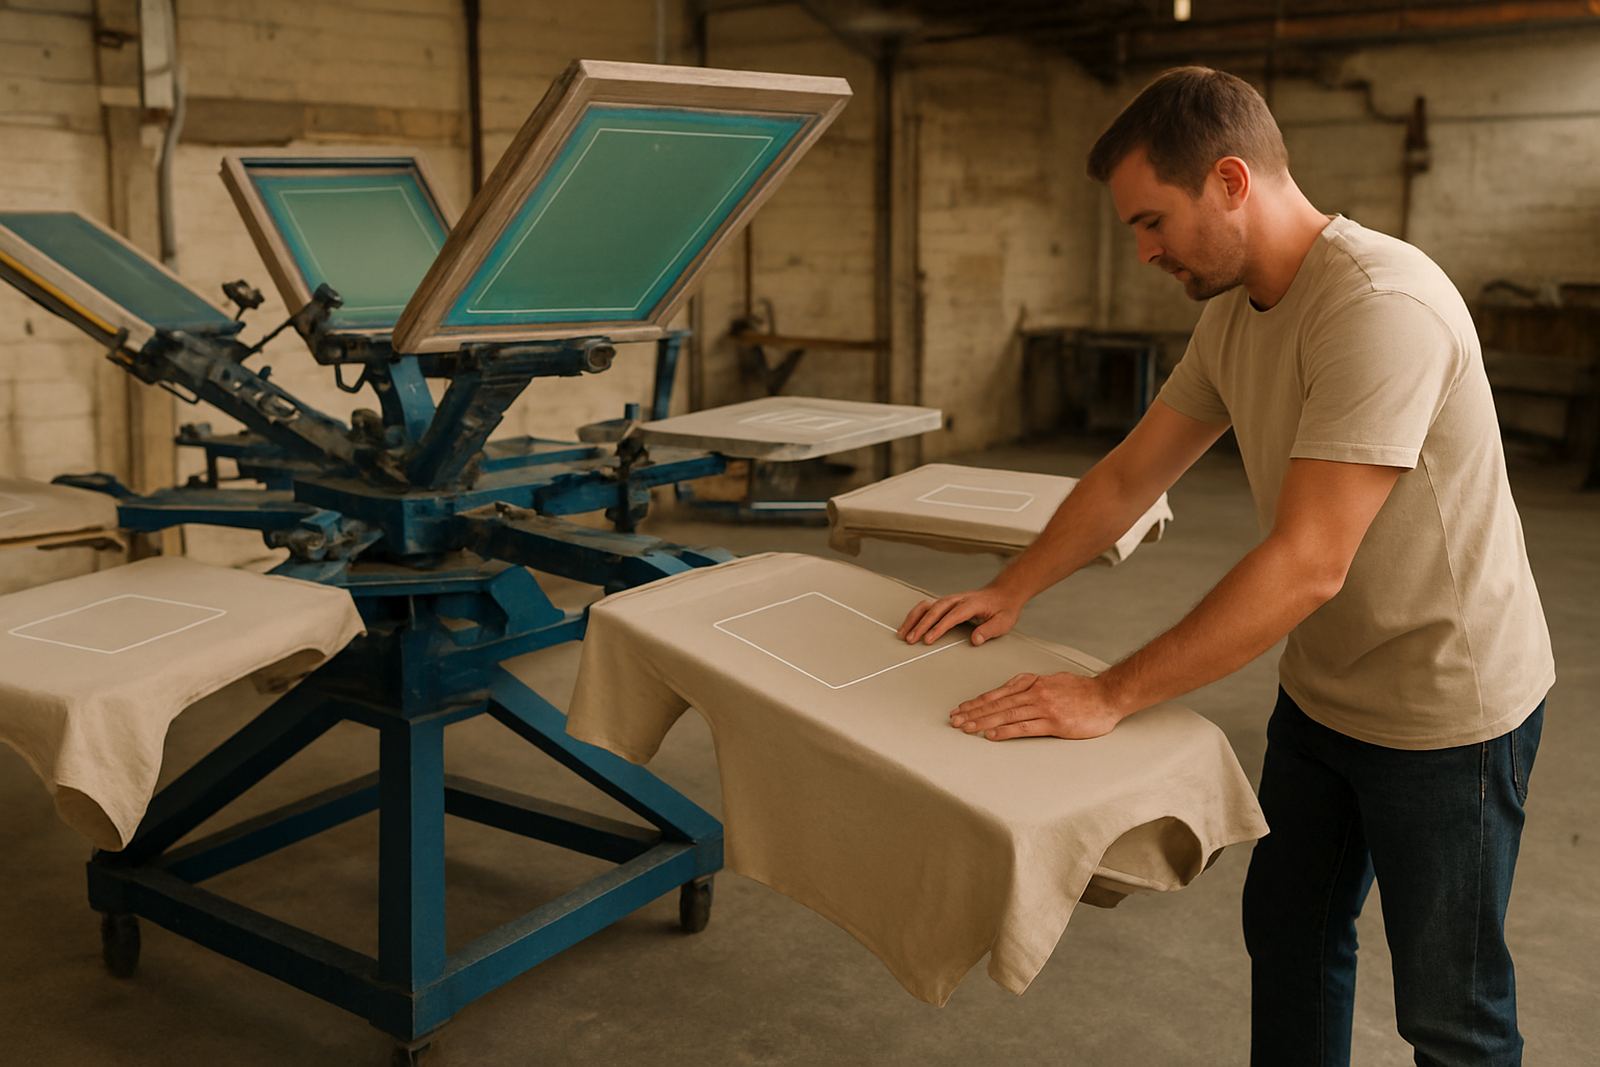
Before any artwork is set up, think about where the garment will be worn and who needs to read the message. A staff golf shirt for a Bloemfontein front counter team needs a different layout from a school event tee, and a sports shirt on the field has its own spacing needs. We look at the cut of the garment, the size range, and how the print will sit once the shirt is worn not just flat on the table.
As a rule, lighter designs and smaller logos suit a chest or sleeve position, while larger graphics work better on the back or across the front. If the garment has seams, a pocket, zip or textured fabric, the print area may need adjusting so the result sits neatly and wears well over time.
- Check the garment type: t-shirt, golf shirt, hoodie, overalls or sportswear.
- Confirm who will wear it: staff, learners, players or event crews.
- Decide where the logo must be seen first: front, back or side.
- Note any obstructions such as seams, pockets, zips or buttons.
Chest Prints: Clean and Easy to Read
Chest prints are the most common option for uniforms and promotional shirts because they give a neat, professional look. A left chest position is ideal for a logo, name or small identifier, while a centre chest print gives more space for a slogan or graphic. For schools and businesses across the Free State, chest placement often works best when the garment needs a tidy finish that is easy to wear every day.
Left chest placement normally sits above the heart area and is usually the first choice for branded uniforms. Centre chest is better when the design needs balance and stronger visibility from the front. If the print is too large for the garment size, it can feel crowded, so we check proportions before it goes to press.
- Left chest: good for logos, names, small crests and department marks.
- Centre chest: suitable for event names, slogans and larger icons.
- Keep clear of collars, buttons and pocket lines.
- Allow space for different shirt sizes in the same order.
Back Prints for Visibility and Team Identification
Back prints work well when the message must be seen from a distance, especially at events, schools, sports days and site work. This position gives more room for large text, numbers or a full brand message. It is often chosen for volunteers, crew shirts and staff uniforms where quick identification matters in a busy crowd.
For orders in Bloemfontein, Botshabelo, Thaba Nchu and beyond, back placement is a practical choice when you need strong visibility without taking over the front of the shirt. A larger back print can also balance a small chest logo, which gives the garment a more complete finish. If the artwork is too detailed, we may suggest simplifying the design so the print stays clear from a few metres away.
- Best for large wording, event details and team numbers.
- Useful for crews working in crowds or across sites.
- Pairs well with a small front logo.
- Needs enough room above the hem and below the collar.
Sleeve Prints and Smaller Side Details
Sleeve prints are useful when you want extra branding without making the garment look crowded. A sleeve can carry a website address, small logo, sponsor mark or department name. It is a smart option for corporate wear, school apparel and sportswear where the main front and back positions are already being used.
The sleeve area is smaller, so details must be kept simple. Fine lines, tiny text and busy artwork may not hold up well, especially on stretch fabrics. On thicker items such as hoodies or workwear, sleeve placement can be strong and noticeable, but we still check that the print will sit comfortably when the arm is bent or raised. In humid coastal areas or during heavy use, the print should also be considered for wear and washing frequency.
- Good for sponsor marks, small logos and short text.
- Keep artwork simple and bold.
- Avoid crowding near cuffs or shoulder seams.
- Ask how the sleeve will move on the body during use.
Larger Layouts for Events and Promotional Wear
When the goal is strong visibility, larger layouts can cover more of the front or back. These are often used for launches, fun runs, music events, school functions and awareness campaigns. Large prints need careful artwork setup because the design must still look balanced when it is scaled up. A good large layout does not just fill space, it supports the message and keeps the garment wearable.
Before approval, we check how the full layout works across different sizes, from small youth garments to larger adult sizes. A layout that looks fine on one size can crowd the shirt on another, so we adjust placement where needed. For bulk orders, this step saves time later and helps keep all items consistent.
- Use large layouts when visibility matters most.
- Allow for different garment sizes in the same order.
- Keep enough breathing room around text and logos.
- Review how the print fits with number placement or other markings.
Approval Checklist Before We Go to Print
Once the position is selected, it is worth checking the final details before production starts. This is where we confirm the size, placement, colours and any special instructions for the order. Whether the job is for schools in Kroonstad, uniforms in Welkom or event shirts heading nationwide, clear approval helps avoid delays and rework.
Our team in Hamilton, Bloemfontein handles artwork setup, colour matching, size sorting and individual bagging where required. That matters on larger orders, and it also matters on smaller runs where each item still needs to be right. If you are unsure about position or sizing, send the garment type, quantity and intended use through the enquiry form on our contact page and we will guide the rest.
- Confirm the print position on each garment type.
- Check spelling, spacing and logo size.
- Approve the colours against the garment colour.
- Confirm quantities, sizes and any special packing needs.
For busy production periods, a clear approval sheet saves time and keeps the order moving. It also helps when orders are couriered across the Free State or further afield, because the final layout is already signed off before dispatch.